
 |
| Step 1 |
*Empty cereal box
*Printed planner pages (50-100)
*1 striped sheet and 1 polka dot sheet of paper
*Clear masking tape
*Letter stickers
*Needle and thread
*Scissors
 |
| Step 2 |
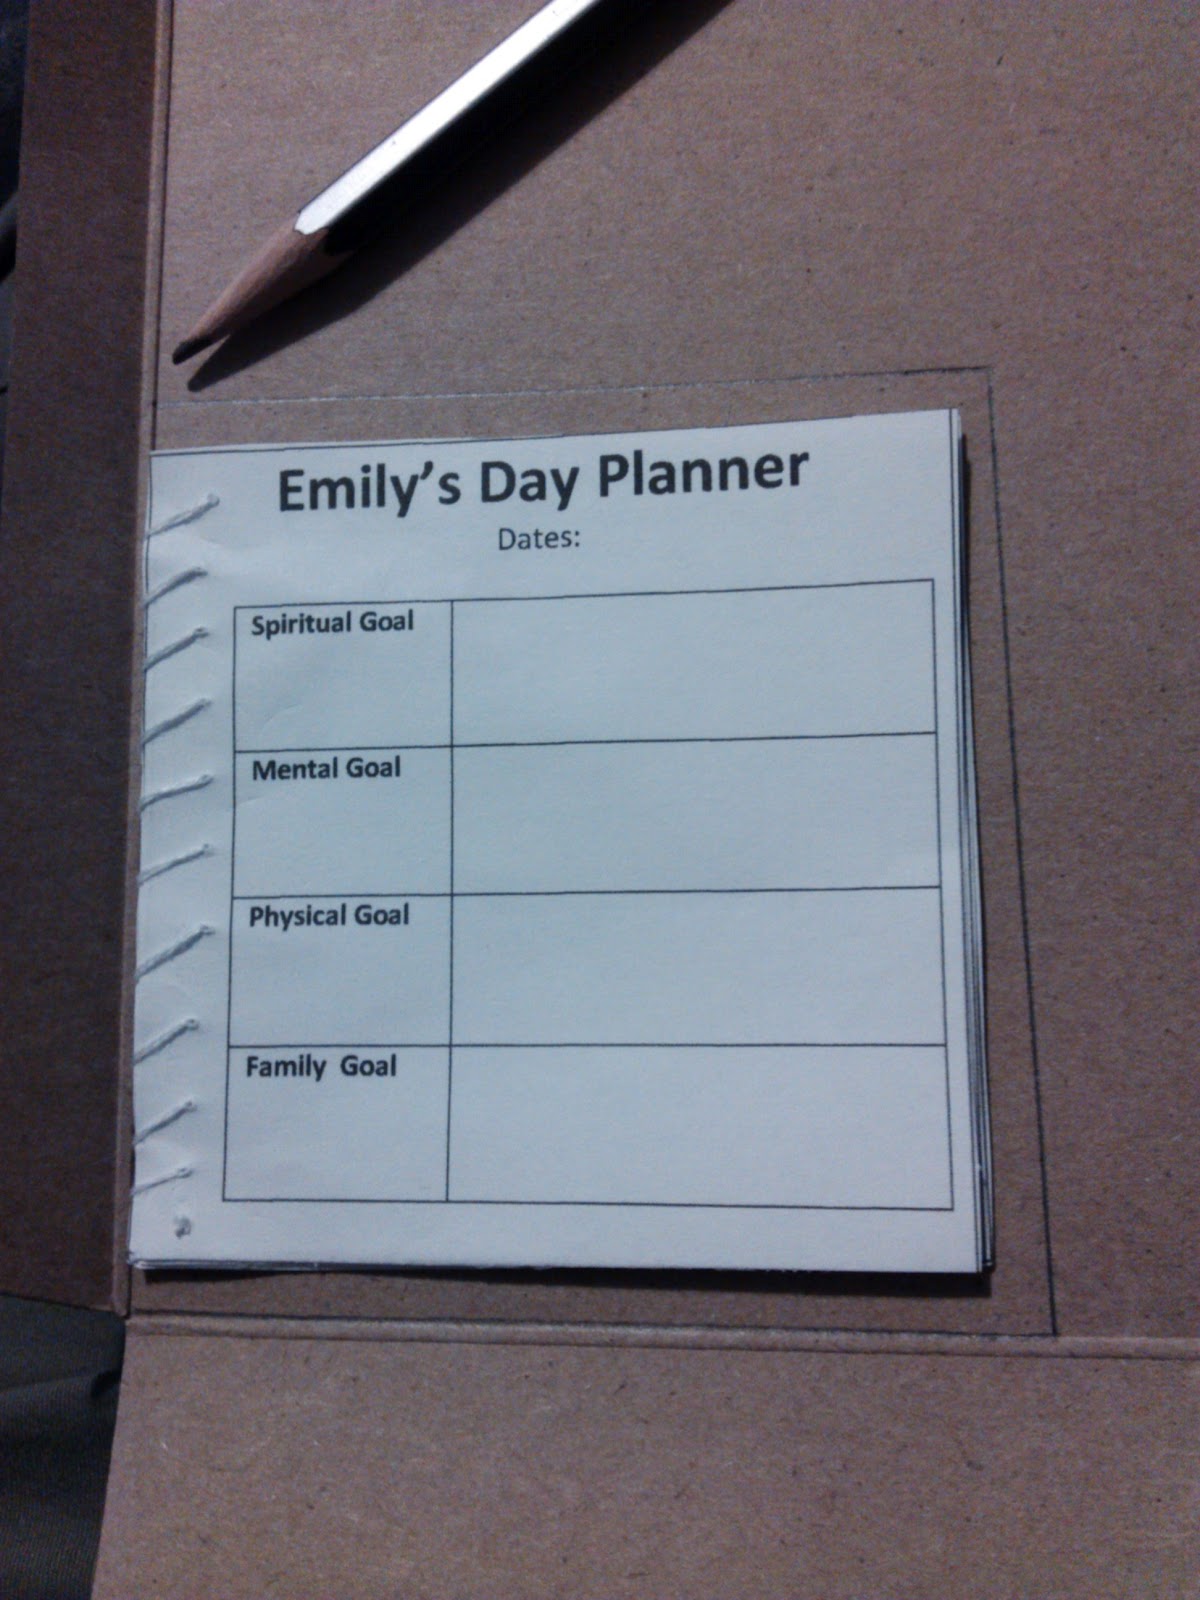
Choose the size of your planner-to-be by printing off the inside pages- include whatever information you think is pertinent (date, times, goals, etc.) I chose to keep my simple, with just a few goals, then a general blank space to put whatever I needed for the day. Once you have them printed off (or, hand-write them if you prefer), cut them all to the same size of sheet
Step 2
 |
| Step 3A |
 |
| Step 3B |
Carefully take your cereal box apart and then, using the section that has just a small lip of cardboard bent up, trace around one of your bundles of paper. Make this outline 1/2 inch or so larger than your sewed bundle of papers. Repeat this step so that you have two identical sized pieces of cardboard.
 |
| Step 4B |
Step 4
 |
| Step 4A |
Step 5
 |
| Step 5A |
 |
| Step 5B |
Step 6
Next, in the same way that you covered the inside of the cover with paper, cover the outside of the cover. Overlap slightly on the inside of the cover to make it look almost like a dust jacket.
Step 7 (almost done!)
 |
| Step 7A |
 |
| Step 7B |
YAY! You did it! And what's extra nice is that once you have used up all the papers on the inside, you simply need to cut the thread that holds the pages in and re-thread in some new ones. Way to up-cycle! I hope the extra-illustrated instructions helped!
 |
| Step 7C |
Need to upcycle even more? How about upcycling some empy paper towel rolls into a Disposable Flower Vase, a DIY Wall Hanging or a 3D Dragonfly!
Holy cow that is so creative and awesome that you can make that!
ReplyDeleteThis is great, can't wait to make my own. Thanks for the pictures and step by step instructions totally helps me understand the process.
ReplyDeleteAnnette, you are so positive! Thanks for all your comments!
Delete