Friday, January 11, 2013

Friday: DIY Quiet Book

I made this little quiet book for my baby girl for Christmas. I'll be honest, going through her hands (she likes to chew on books- guess she's hungry for knowledge?) I'm no sure how long it will last, but I loved how it turned out and wanted to share it in case you are making a quiet book, too, but are short on ideas.

Materials
*blank board book
*permanent markers
*stamps
*colored construction paper
*various printed scrapbook paper
*embroidery floss*washi tape
*reflective paper
*wood glue
*clear tape
*various 3-D objects (for the cover)
*card stock stickers

I'll give you a few how-to's for each page, but I mostly just want you to be able to look at my pages and see if it gives you ideas for your own book for your own little one. Good luck!

Front Cover
Buttoms on scrunched cloth, felt shapes, raised letters, and washi tape on the
right (covered washi tape with clear tape for extra protection)

Flowers are from a scrapbook print paper, washi tape for stems and surrounding edges.
Washi tape on edges secured with extra clear tape
Fish page is made up of little fish I cut out of textured cardstock (to make them fun
to touch) and the jelly fish has a few strings of embroidery floss wood-glued on,
then covered with the jellyfish itself
Textured shapes on the right, two colors, so you can focus on learning the shapes
Rainbow string page, I attached each piece with clear tape on the top and bottom,
then re-inforced the whole thing with a ton of wood glue and the blue piece of
paper on bottom and top. Bonus? Stretch the thread tight and it'll give a quiet
 'ping' sound when your child flicks it
Left is reflective paper glued on adn then surrounded with washi tape (reinforced
with clear tape, of course)
Right is pink scrapbook paper and sticky die-cut shapes, so they are raised up
from the page and fun to touch
Alphabet stamps colred in on the left, and circles with numbers on the right-
makes it easy to learn counting, right?
Simple enough- colored rectangles to practice learning colors. The right is a heart
where a picture of my baby girl goes, I just haven't put it in yet- so then she can
lookat it and say, "Ah, my mama loves me".... ok, she won't say that, but I will
certainly tell her that's why I put her picture in the heart

Thursday, January 10, 2013

Thursday: Perfect Peanut Brittle

I confess, I used the recipe with cashews and
this is actually cashew brittle....
I am an avid candy maker, especially in the winter, when I'm cooped up at home, just staring at bags of sugar and corn syrup bottles, wondering what I can make. Through some trial and error, I have found a fail-proof (and I do mean fail proof!) method for making a perfect peanut brittle. It doesn't take a lot of time or a lot of fancy ingredients. I can guarantee you will have a hard time enjoying any other brittle once you've made this.

Ingredients
3 cups sugar
1 1/2 cups light corn syrup

1 1/2 cups water
1 pound Spanish peanuts (or cashews....mmmm.... cashew brittle....)
1 Tb baking soda

Spanish peanuts

Not too extensive of a list, right? And the directions are about as simple.

Step 1
Take a cookie sheet with sides and grease lightly with vegetable oil

Step 2
In a large pot, combine the sugar, water, and corn syrup over medium to medium-high heat. Boil that sucker. If it is boiling too high (as in it seems like it is going to overflow the pan), turn the heat down. You want a constant boil, but nothing crazy. Stir every few minutes and wash the sides of the pan down with a pastry brush soaked in water

Step 3
Keep on stirring and boiling. Every 5-7 minutes, take a spoonful of your candy mix and pour it into icy cold water. If the mixture is soft and pliable, keep cooking.

Step 4
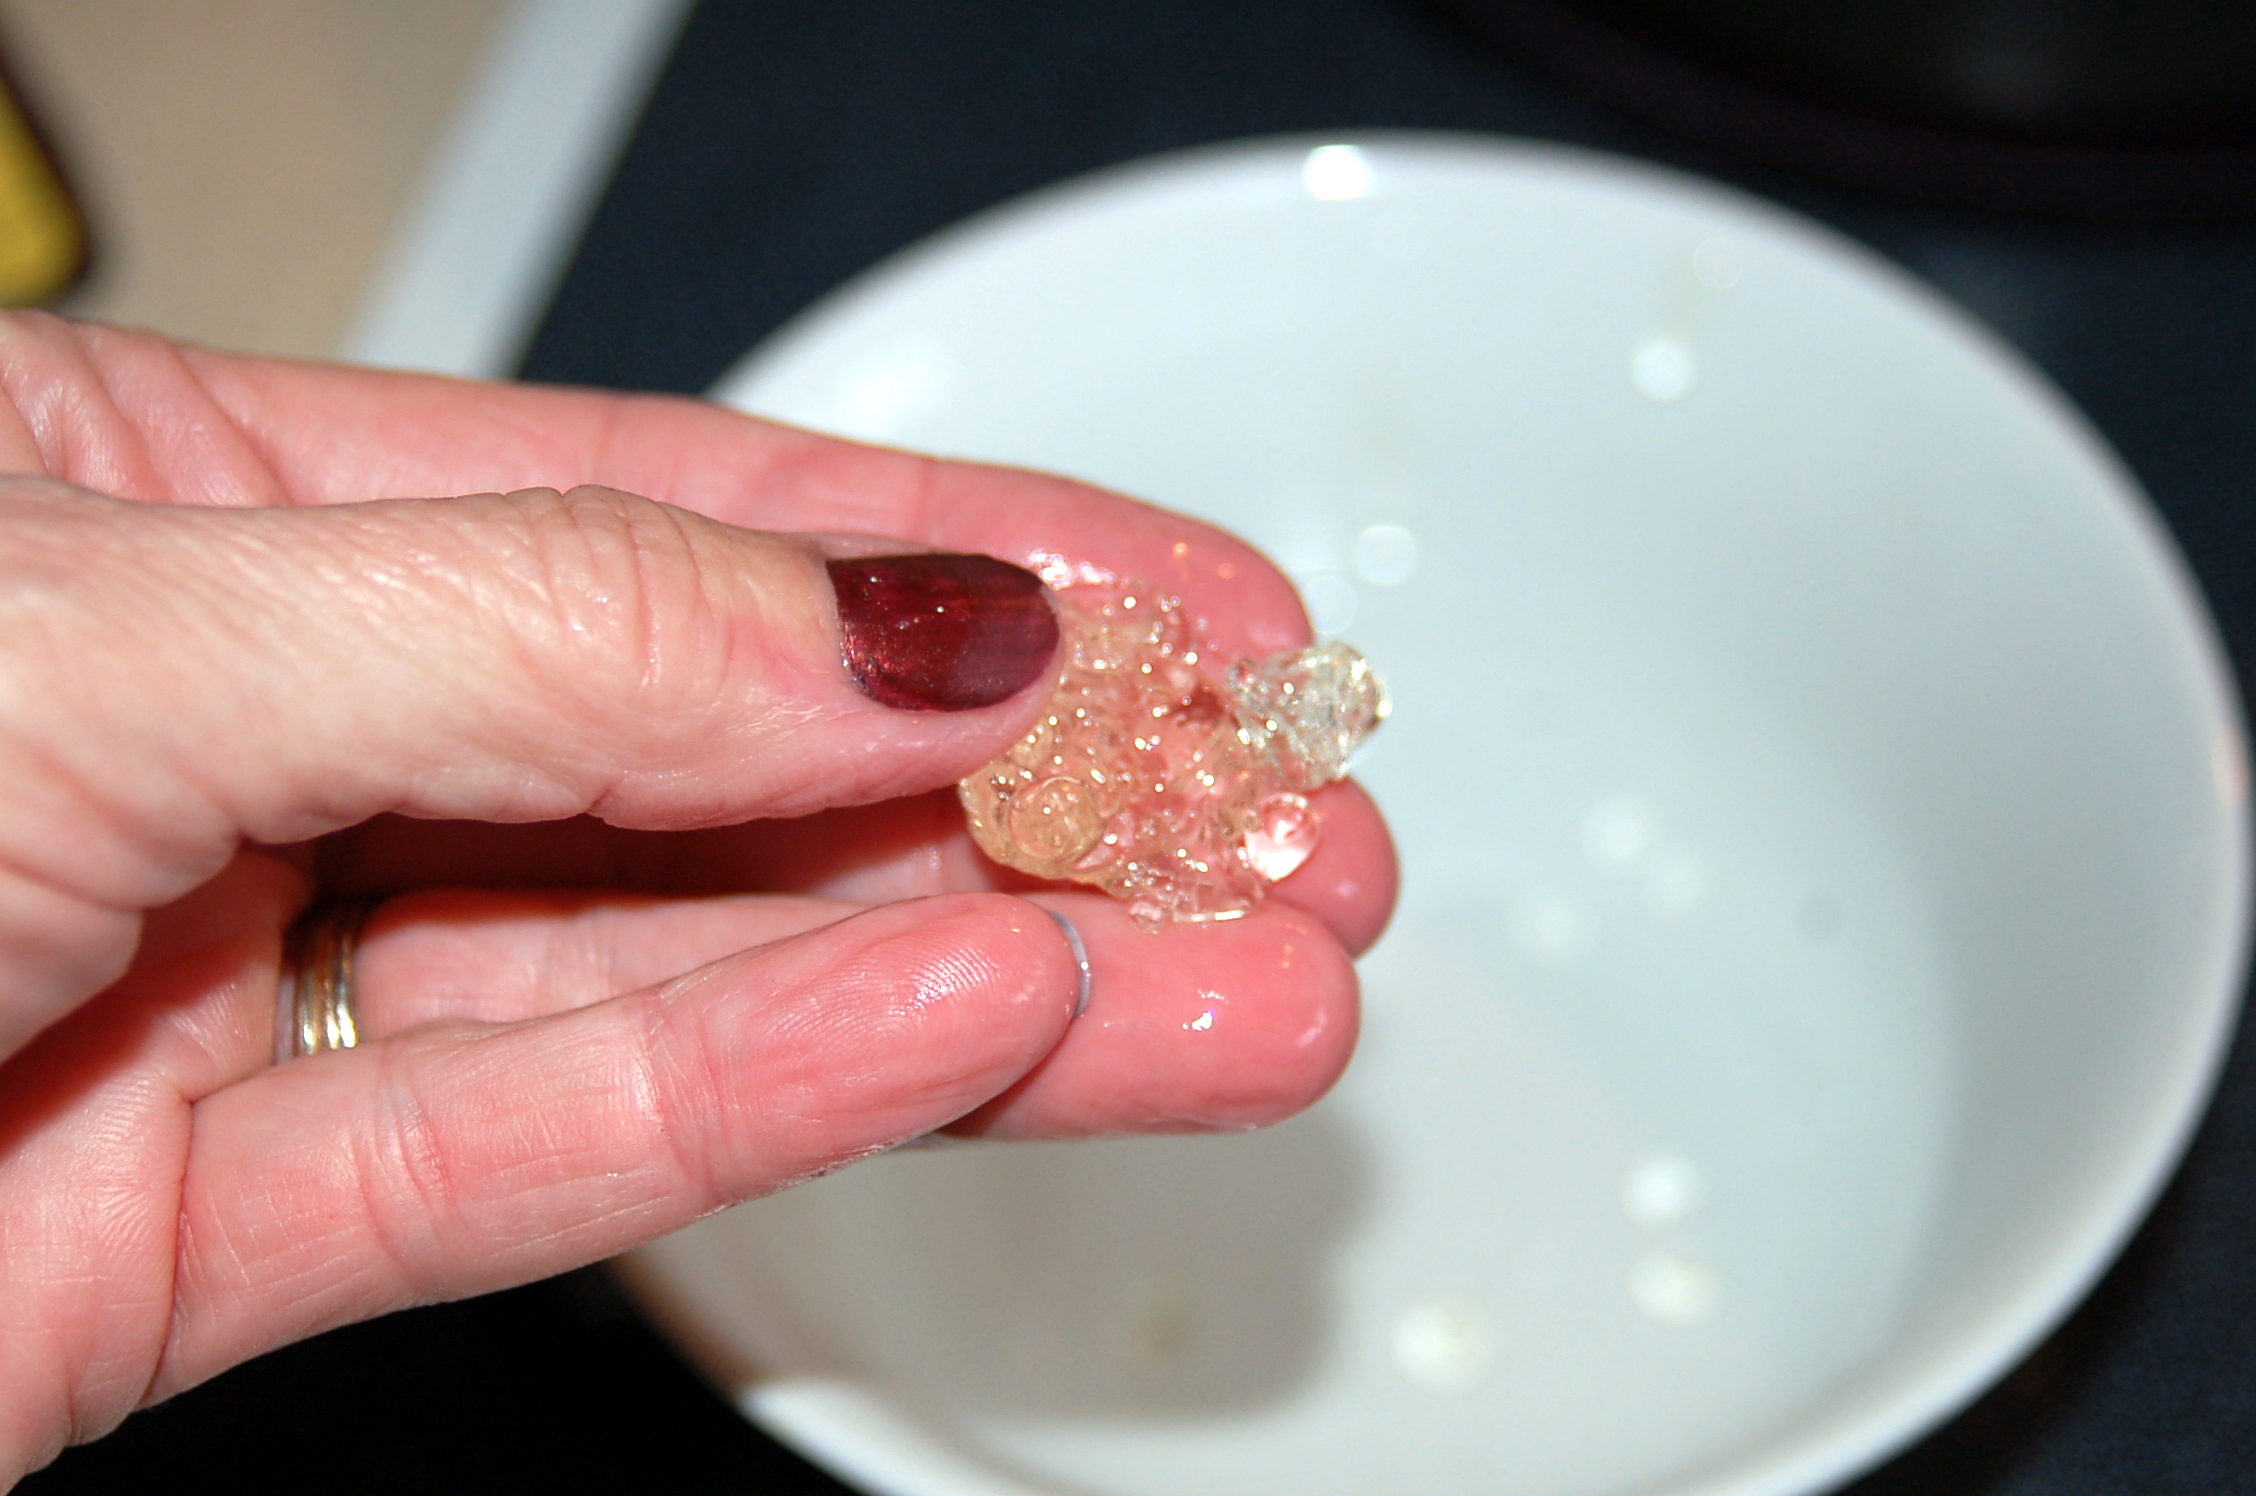
Once the mixture, upon hitting cold water, becomes hard and brittle (get it, brittle? I'm hilarious) and is the texture you want your peanut brittle to be, remove your pot from the heat and add the peanuts and baking soda. This stage of brittle candy is called the crack stage and should look like this -> when you pull it out of the water. (thanks to PinkPolkaDotCreations.com for a nice picture capturing what it looks like). Mix vigorously and quickly, QUICKLY spoon onto your greased cookie sheet, using a wooden spoon to spread the mixture evenly.

Step 5
Allow to cool. Then, once totally hard, smash that baby up with a mallet, knife, your hands, or whatever you want, and enjoy yourself some of the best brittle you'll ever have.

Friday, January 4, 2013

Wednesday: Need a Laugh?

Let's see how close your humor and mine are- because this made me laugh. Out loud. For real. Not just 'lol'.
"By the way..."